Showing posts with label baby blanket. Show all posts

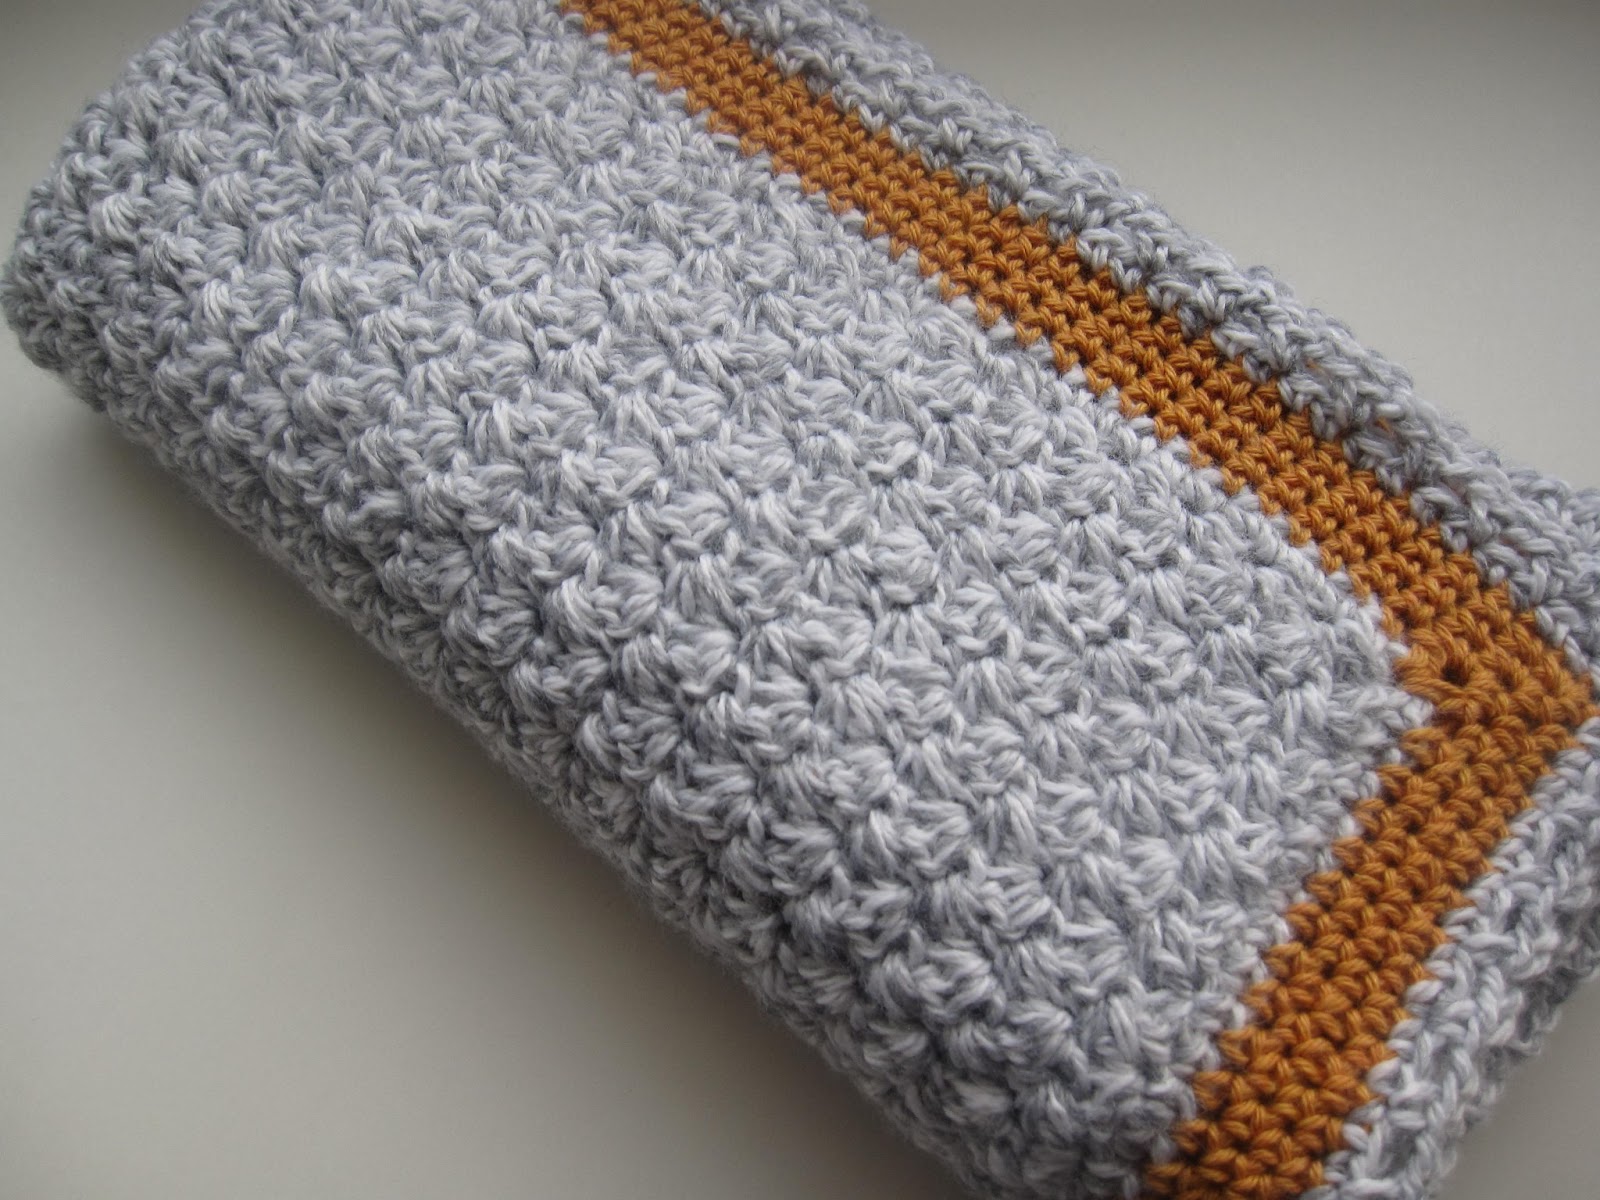
New Custom Baby Blankets

Hello Friends...I just wanted to share with you these two baby blankets I've been working on lately. The first, with the stripes, is a gorgeous shell stitch pattern.  I'm so happy with the way it worked up with the contrasting gray. I used Lionbrand Yarn, Vanna's Choice, which is such a great yarn to work with, especially for blankets of any kind. It comes in so many colours and it has a lovely squishy feel to it.

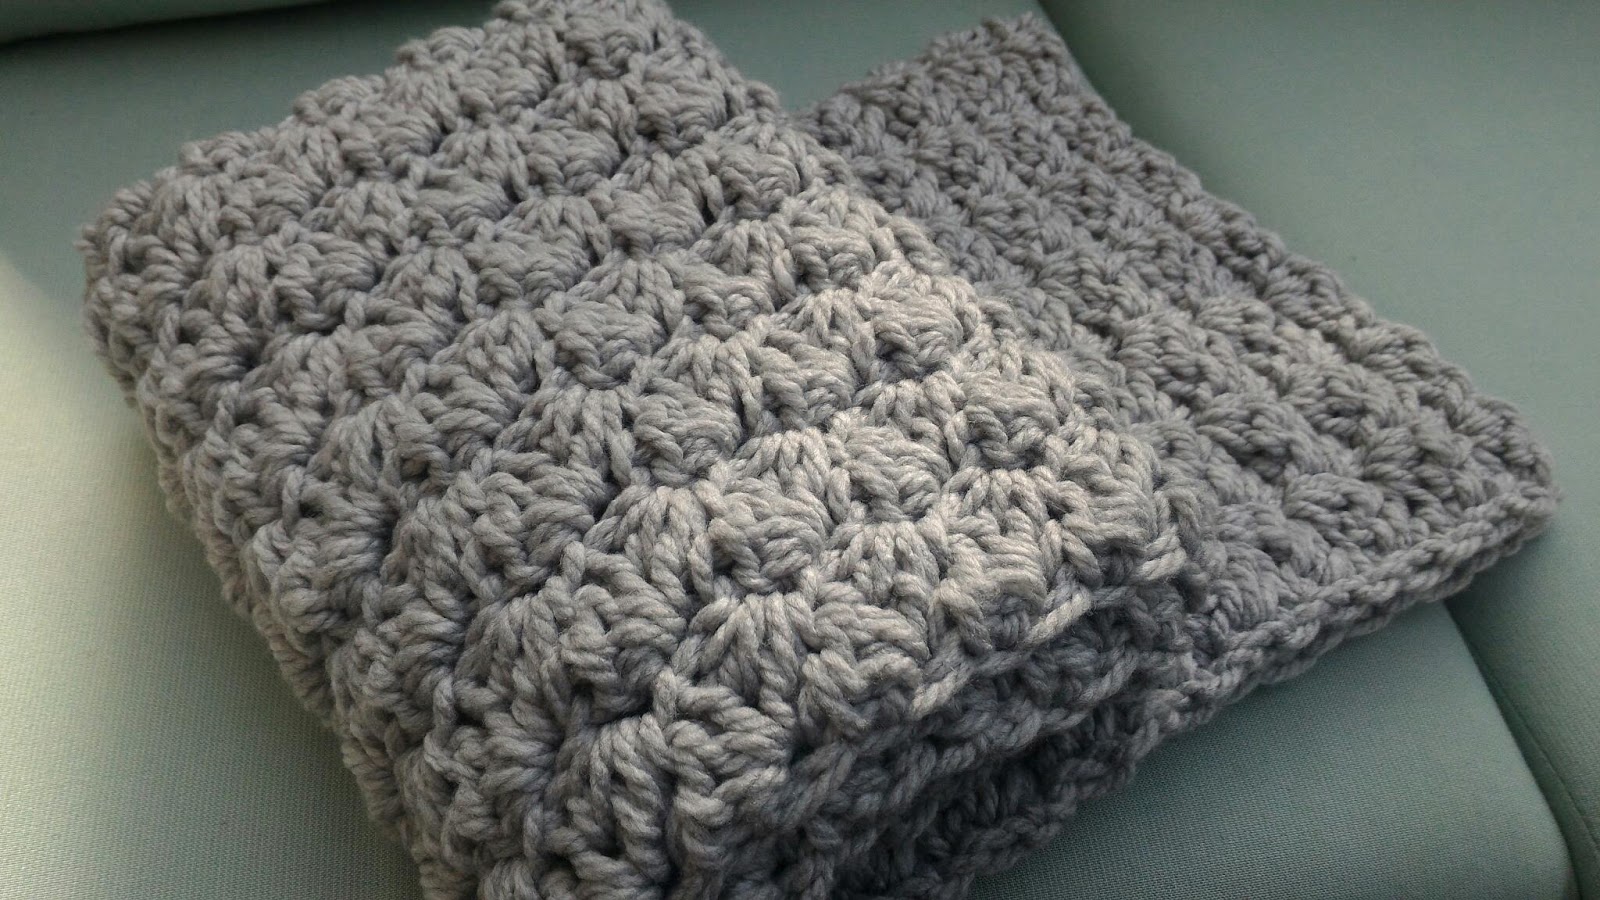
The next blanket is done in a simple textured stitch pattern, but I used a super bulky yarn by Yarnspirations, called Bernat Softee Chunky. It is so cosy and chunky, great even to throw down as a play blanket.

Both blankets are available in my Etsy shop as custom blankets, in 2 sizes - one for the car seat/stroller, and the other for the crib.


Trendy Baby Blanket

Hello Friends...check out this great baby blanket in Bernat Softee Chunky Yarn.  Pattern can be found on the Crochet Crowd's website and tutorial on their You Tube channel.  I love the grey and red!


The Beckett Baby Blanket

Hello Friends...here's an adorable and easy baby blanket I recently made for my nephew to be. Pattern details here.

Charity Challenge

Hello Friends...here's the finished baby blanket I've been working on for The Crochet Crowd Feel Good Charity Challenge.  It's called The Cluster Baby Waves Blanket and it was super fun and easy to make. I used Loops & Threads, Big Ombre.  I've donated the blanket to my local Crochet For Cancer chapter.


Baby Luca Blanket

Hello Friends, here's my latest baby blanket that I made for a dear friend who recently had a baby boy. I'm calling it the Baby Luca blanket after him.  Done with a mixture of alternating bobbles and rows of sc's, it turned out great!  Pattern to come, but for now, check it these photos:

Baby Lisa Blanket -- Tah Dah!

Hello Friends...I'm finally finished the baby blanket I've been working on for some time.  Border done, ends weaved in, photos taken and pattern published.  I'm really pleased with the overall result.  My sister-in-law chose the colour combination...I'm loving the gray!  I'm calling it the "Baby Lisa Blanket" - take a look:


For more information about the pattern, I've put this one is my shop.


The Year Ahead

Hello Friends...I trust the New Year is treating everyone well.  I'm not one for New Year's resolutions, but I do enjoy looking ahead and setting some goals.  After about a year and a half at our now house, I feel as though we've somewhat settled in, but there are many projects to get to around the house.  Repainting is one project, for which we are starting next week, however, I'm still undecided on my colour.  Originally I wanted to go with Benjamin Moore's Coventry Gray, but after doing a sample board, I'm concerned it's just too dark for our living room / dining room space.  So, I'm thinking, the next colour down on the chip, Stonington Gray and Wickham Gray for our hallway area.


This is the Coventry Gray.  Unfortunately I don't have a sample board of the Stonington Gray, but I think I may go with that one.  Here's a link to their sample.

Also on the project list is repainting an old fold down secretary desk and using it in our dining room, as that seems to double best as our office/homework space.  Pictures to follow on once I start that project.

On crochet front, between family and friends, there are some more babies on the way.  So, I've been working on a new blanket...here's a sneak peak in gray again:


Modern Baby Blanket :: Free Pattern


Hello Friends...some of you may remember last srping I was working on a blanket for my new little niece or nephew to be.  As promised, I've finally gotten around to completing the pattern for the baby blanket.  It's a fairly simple and quick project as the blanket is stoller/crib sized.  Although it can easily be modified to whatever size you like. 

New: Video Tutorial now available!


Please kindly use this pattern for personal use only.  Please do not distribute with out my consent.  Pining of images are welcome, otherwise all images are copyright and may not be used without consent.  Thank you -- Alison, Modern Grace Design


Required Materials:
  • 2 skeins of Bernat Softee Baby in Antique White; 140 g / 5 oz ;approx. 331m /362yds each
  • 1 skein of Bernat Softee Baby in Mint; 140 g / 5 oz ;approx. 331m /362yds
  • size 4mm crochet hook
  • scissors
  • yarn needle

Required Crochet Stitches:

chain (ch), single crochet (sc), half double crochet (hdc), double crochet (dc)
Note: All terms are U.S.

*A note about gauge: This pattern can easily be adapted to any size you wish. If you prefer a larger blanket, simply chain a multiple of 3 + 2 sts. Measure to desired width and add multiple rows for desired length. The following pattern should make your finished blanket approx. 21`` x 26``, which is a good size for a stroller or car seat.

Main Blanket:

ch 62,

Foundation Row - In 2nd ch from hook, work 1 sc into each ch across (61 sts.)

Row 1 - ch 2, in first sc (1 sc, 1 hdc, 1, dc), skip next 2 sts, *(1 sc 1 hdc, 1 dc) in next st, skip next 2 sts, repeat from * across, ending with a sc in last st, turn.

Row 2 - ch 2, in first sc (1 sc, 1 hdc, 1, dc), *skip next 2 sts, (1 sc, 1 hdc, 1 dc) in next sc, repeat from * ending with 1 sc in top of turning ch, turn. You should have 20 little sc, hdc, dc groups. Tip: You are always making your group in the sc stitch from the previous row.

Repeat row 2 until your piece measures appox. 22”, or until desired length is reached. 
Note: your last row of repeating row 2 should be done on the wrong side. Turn.

Final Row - Ch 1, and sc in each st. across (60 sts). Do not fasten off.
Note: This final row should have the right side of the blanket facing you.

Edging:

Round 1 -  Loosely ch 2, (first top left corner made), sc evenly down the side of your work. Loosely ch 2, (bottom left corner made), 1 sc into each sc across bottom. 
Loosely ch 2, (bottom right corner made), work up last side with sc evenly.
Loosely ch 2, (top right corner made), 1 sc into each sc across top. 
End with a slip st. into first corner. Here you can join your contrasting colour, do not fasten off.

Round 2 - With contrasting colour, 1 sc , ch 2, 1 sc into corner Sc into each sc down the side. When you reach the corner repeat 1 sc, ch 2, 1 sc into the corner. Continue this way around until you reach the first corner. Slip st. into first corner, completing the sl st. by bringing up your original colour.

Round 3 - With original colour, ch 1 and then repeat round 2. Slip st. into first corner, completing the sl st. by bringing up your contrasting colour.

Round 4: Shell Border - With contrasting colour, ch 3, 4 dc into corner. Skip 1 st., sc in next st., skip 1 st., 5 dc in next st. Continue this way around , with 5 dc into all corners. If you get to a corner and you have an extra st., simply add another sc so that you can do the 5 dc in the corner.

French Translation

Dutch Translation


UK Version


Spanish Translation


German Translation


Swedish Translation